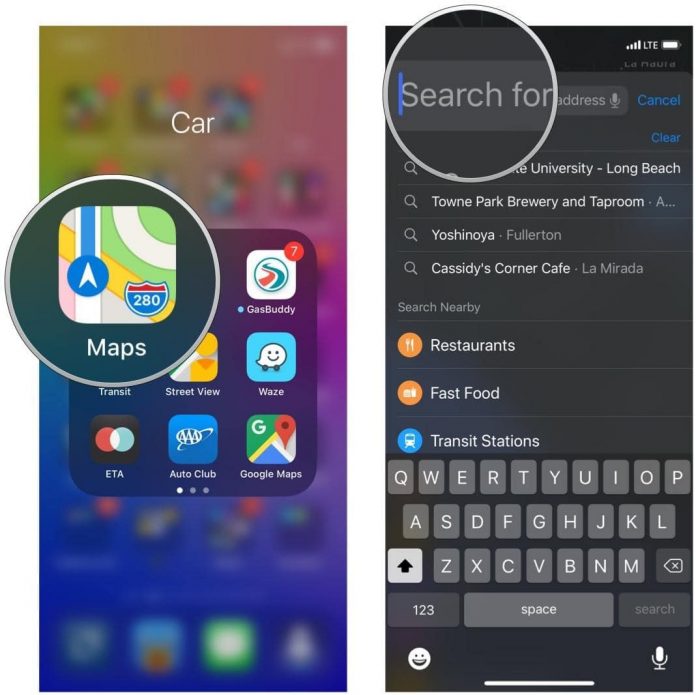
Apple Maps – there was a time when this Apple map doesn’t mean to me as compared to Google Maps. But due to the improvement and latest features, now I love to use this map due to its ETA(estimated time of arrival) feature. You can share your Live route ETA in Apple Maps.
In this article, we will tell how you can share live route ETA Apple Maps on your iPad or iPhone.
How You Can Share ETA to Contacts in Apple Maps on iOS 13 and iPadOS 13:-
This Apple Maps ETS feature works as much as in Google Maps. Whenever you travel to your favorite places, Apple’s navigation app also allows you to share your ETA data with your contacts automatically, so that they can track your location. Let us follow the steps:-
- On your iPad or iPhone, open “Apple Maps.” Set the destination where you are going. Then click on the search field and enter your input destination. Then, it will show you how far away your destination and how much time it will take to reach. Click on the “Directions” button.

- Now, to start the turn by turn directions, click on the “Go.”

- Then, at the bottom, click on the “Share ETA” button.

- Now, the Apple Maps App will recommend you some frequently used contacts. To select another contact, you can also click on the Contacts button.
This is all about. Now the recipient will receive the text message with your ETA. You can also check the number of people with whom you have shared your ETA at the right bottom of the screen.
How You Can Automatically Share ETA in iOS 13 or iPadOS 13 Apple Maps:-
- On your iPad or iPhone, open “Apple Maps” and then move over to the list of your favorite places.

- Now, click on the “see all” option and then select the “i” button placed right next to the place.

- Now, with whom you wish to share your ETA automatically, add the name of that person. Then, click on “Done” to finish.

By this, when you start your journey, your near and dear ones get the notification automatically. Try and use this fantastic feature and let us know your views in the comments section.
Also read: How You Can Recover Deleted Files on Mac


